I always use a grid for my cross stitch to make counting easier. Since I always do all the stitches of one colour before moving on to the next colour, there aren't always stitches nearby to count from.
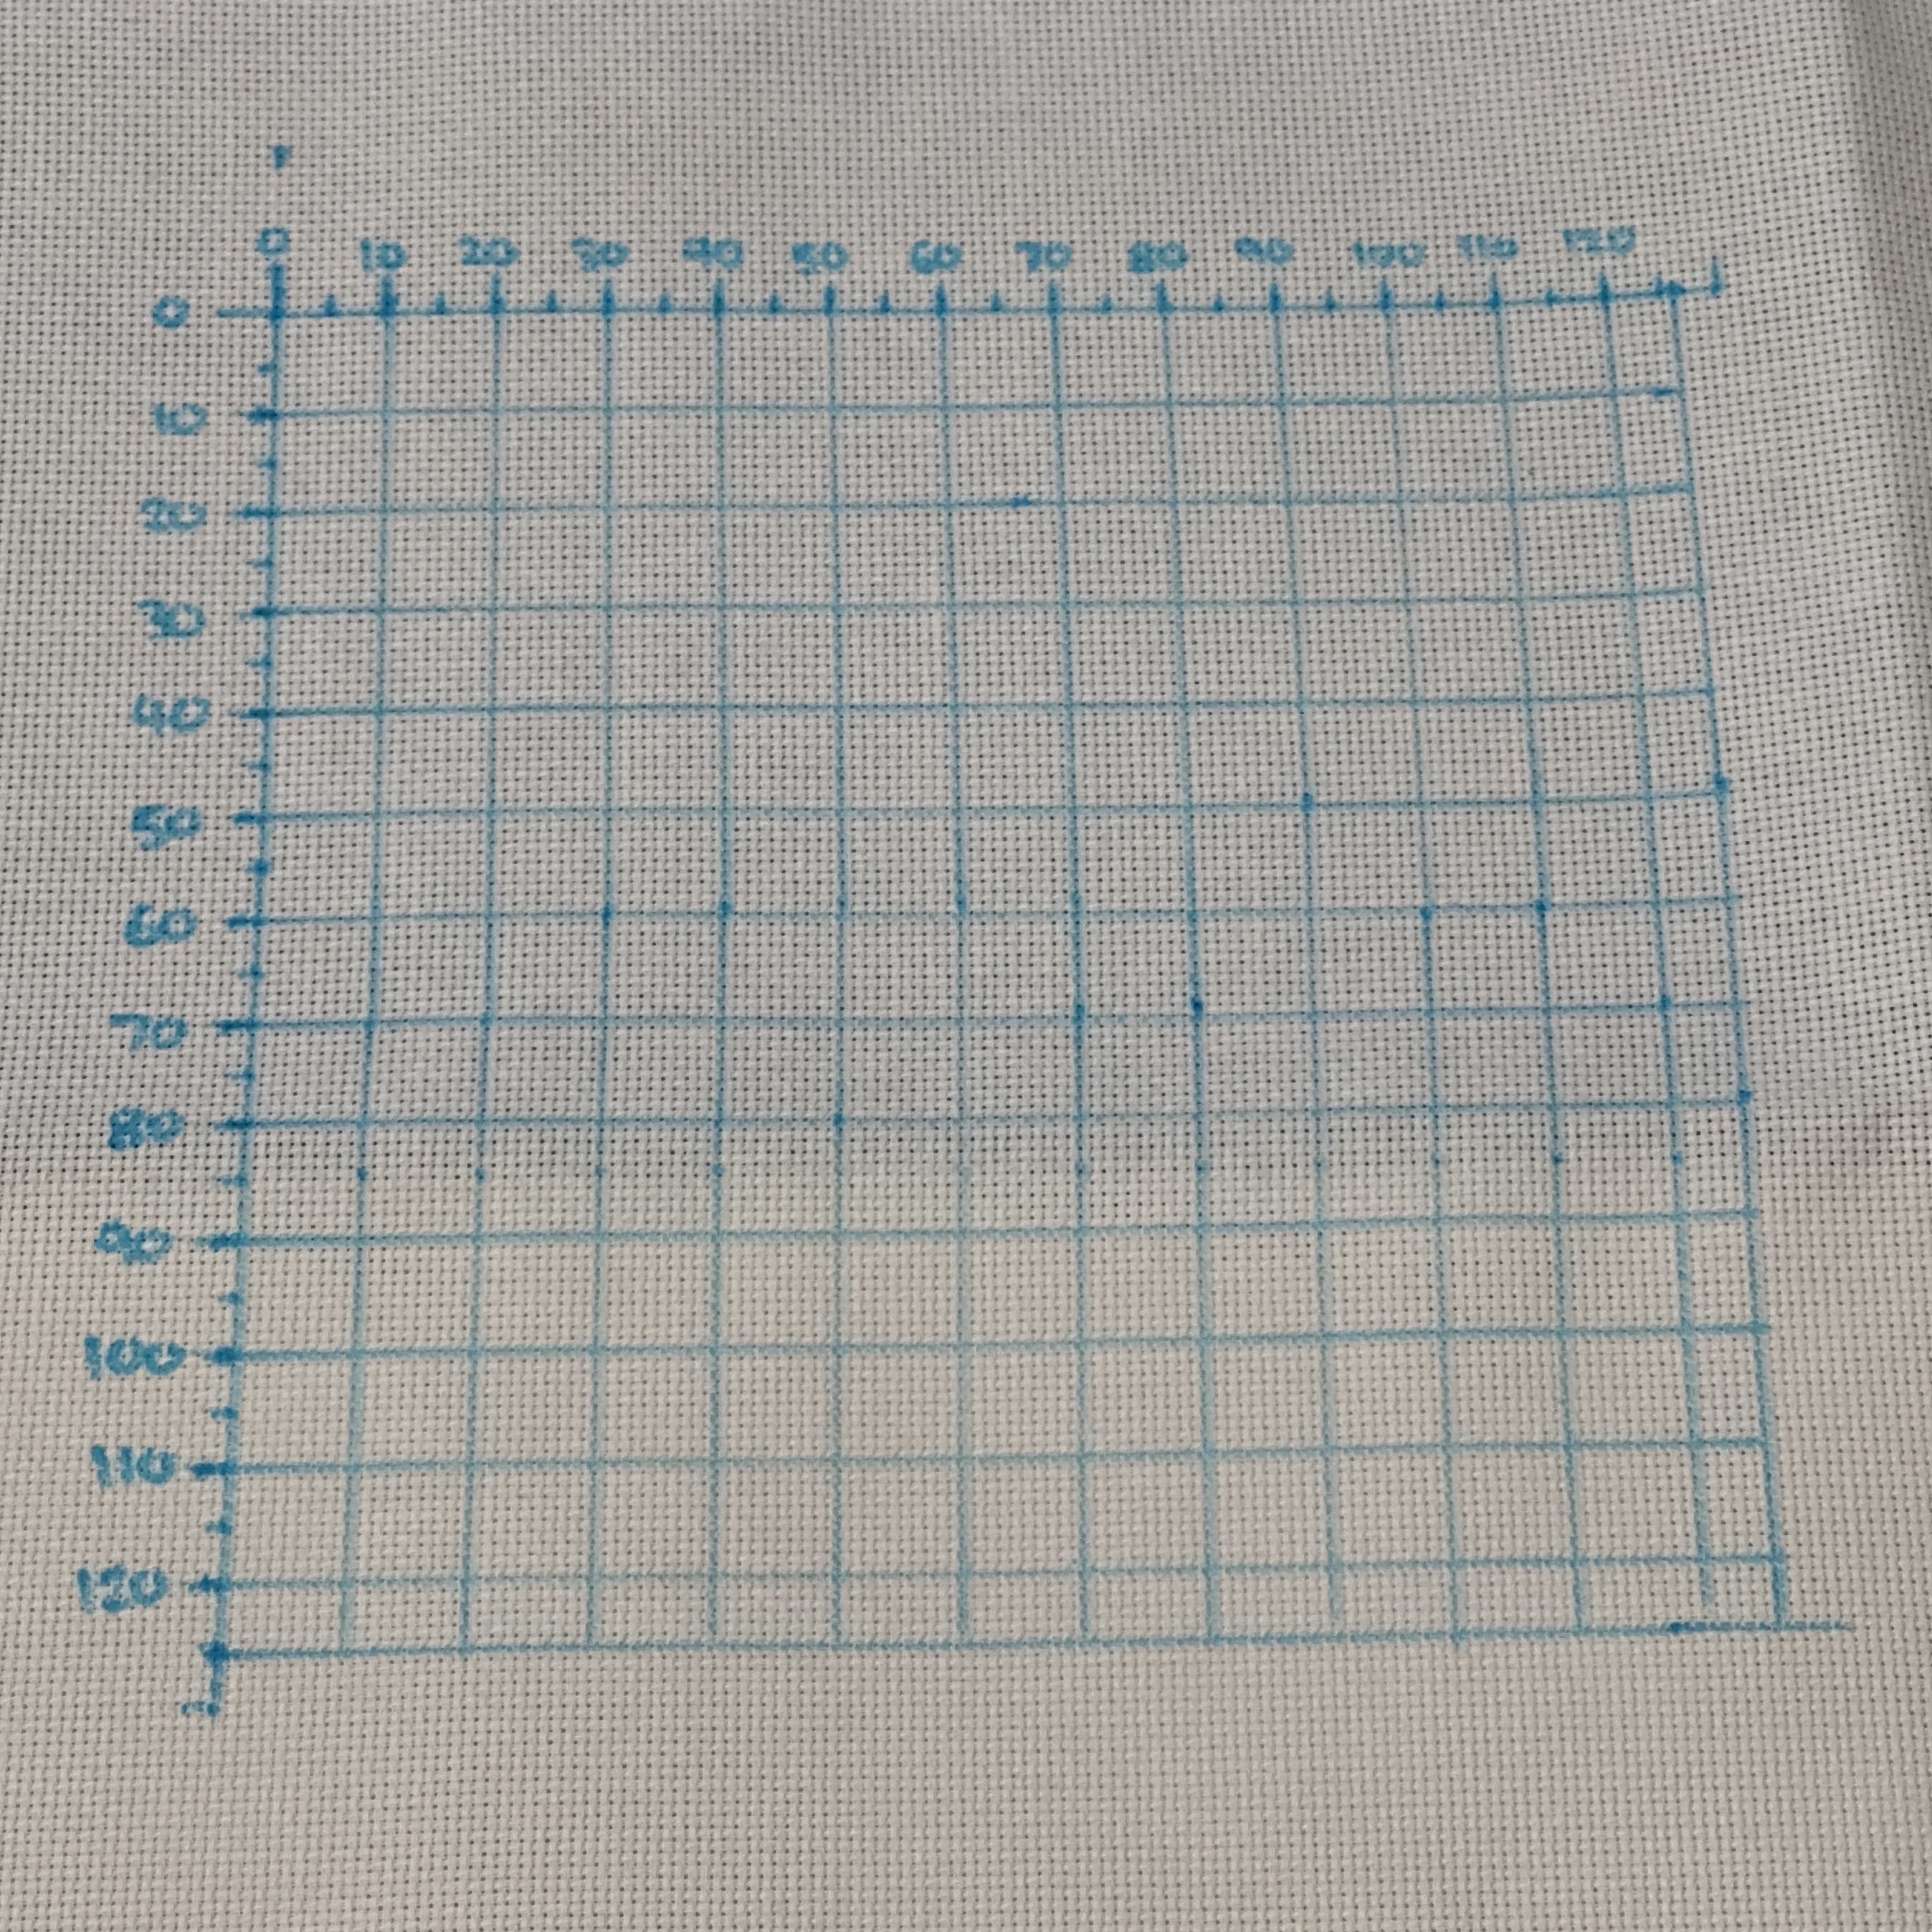
As you can imagine, drawing a grid for even a relatively small piece can be quite tedious. It involves counting batches of 5 or 10 holes. And since the holes are spaced at very specific intervals – for instance, on 18 count fabric there are 18 holes per inch, meaning they're 0.5555... inches apart – it's simply not possible to use a normal ruler to easily find where the 10th hole is each time.
When it came time to start another cross stitch (this one 161 by 174 stitches) I was once again faced with manually counting 335 holes. That is, until I came up with a fun idea for 3D printing a "cross stitch ruler".
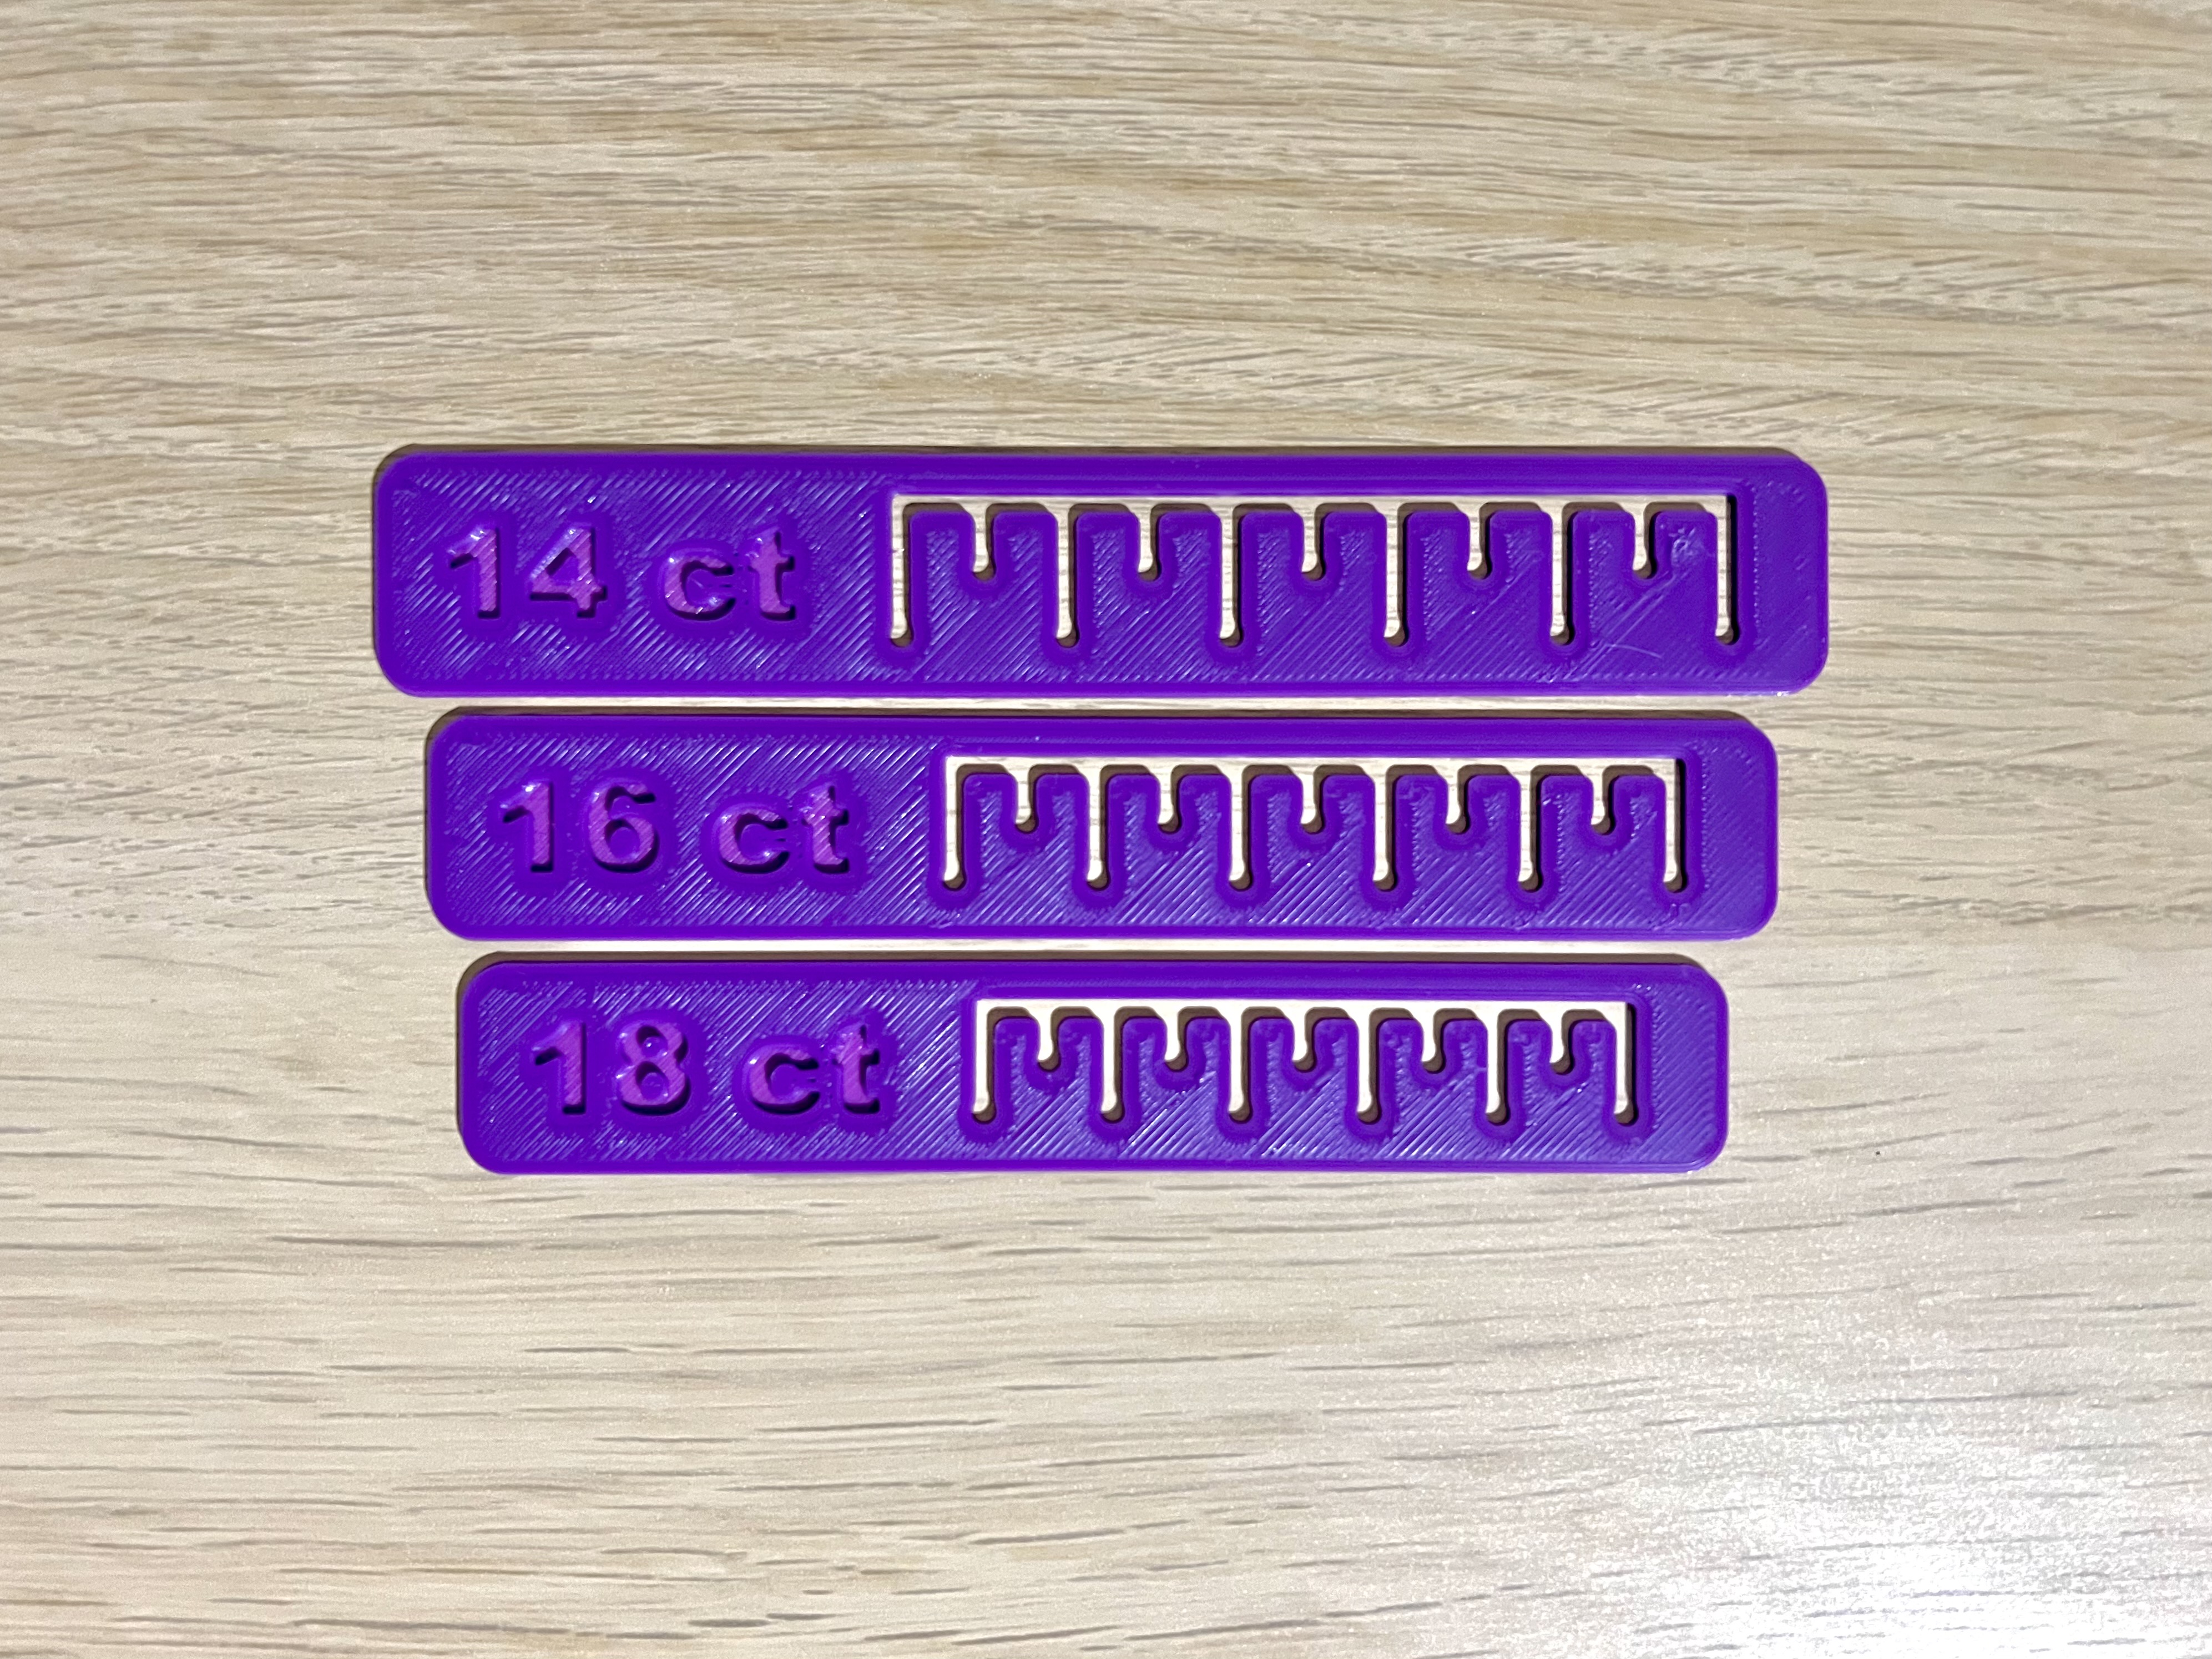
These are custom designed templates with the cutouts perfectly spaced to draw tickmarks every 5 and 10 holes on the fabric. All I have to do is line them up and draw round the cutout.
What used to be an exercise in frustration is now a fairly straightforward task that doesn't require anywhere near as much concentration. My next project was ready to go in no time.

I've made a version for 11, 14, 16, 18, and 20 count fabric, and they're all available as STLs on Printables.